If you are someone with curly hair, you can be probably said as the most fortunate as well as the most unfortunate at the same time. Fortune is because, when styled and nourished properly, your hair will slay like a queen and outshine every other type of hair.
The healthy bounce of curly hair is one of the most pleasurable things to watch. The misfortune arrives when it comes to the hair care part. No matter how you take care of your hair, the uninvited frizz during some days is inevitable.
The Difference A Curl-Defining Cream Makes!
In this article, we will help you make a curl-defining cream that you can get done in the comfort of your home and just with the ingredients that would be easily available in your pantry and garden. While choosing any products for curly hair, it is important to be concerned about the chemicals contained in the formulation, since chemical exposure may worsen the frizz issue in people with curly hair.

Moreover, people have not yet started to believe in the importance and effect of a curl-defining cream since it has not yet been made a part of popular hair care routines. The expensive price tags of the limited options available can also be another reason for their hidden importance. That is when and where the relevance of a DIY curl-defining cream comes into the context.
Things to be assembled
- Shea Butter – 8 Tbsps
- Aloe Vera Gel – 4 Tbsps
- Coconut Oil – 2 Tbsps
- Jojoba Oil – 1 Tbsp
- Essential Oil – A few drops
CHECK OUT:- Discover The Secrets Of Hair Care For Different Hair Textures
How To Prepare?
To make the DIY curl-defining cream, you need to start by heating the shea butter in a microwave. There is no need to melt the butter completely. You may take out the pan before that. This will only take around 30-40 seconds. After taking the pan out, you may add all the other ingredients to the shea butter and give it a good mix.

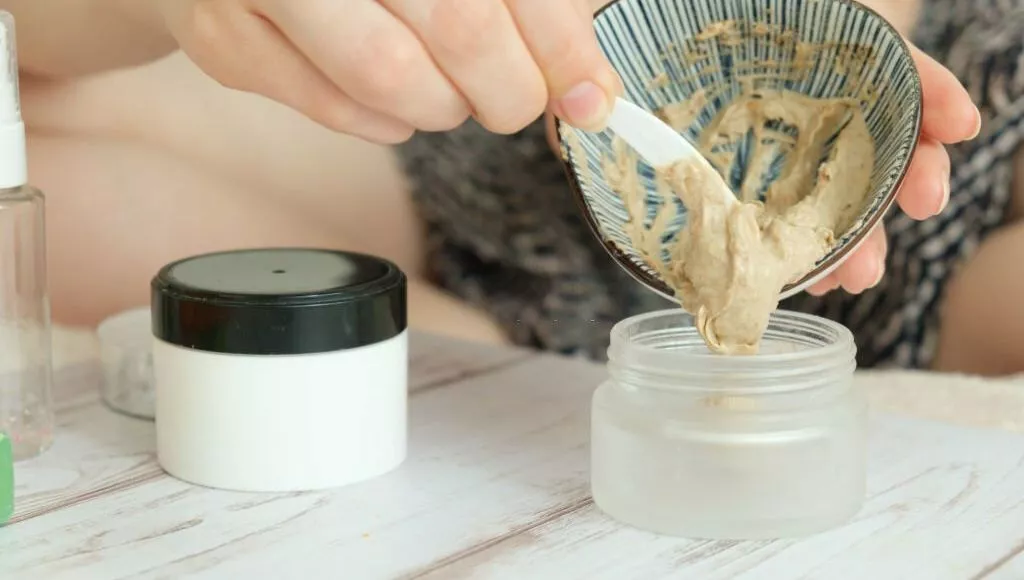
It is important to make sure that all the ingredients have been combined well and good in this mixture. If you are unable to do it using a spoon or spatula, you may also use a hand mixer and get the job done. Now, the next and most important part is to make this mixture look like a curl-definition cream available in the market. That is you need to make it as fluffy as possible and make soft peaks out of it.
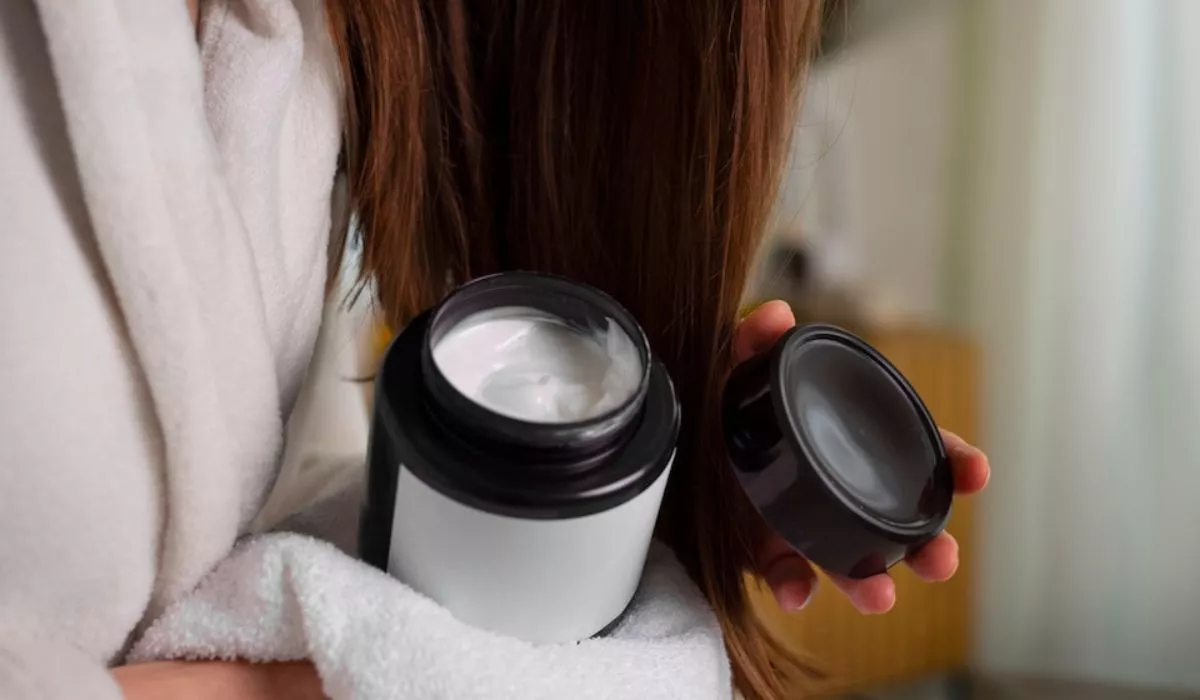
Thorough mixing using a hand mixer would make the task easier for you. Now, the cream is all set to slide on your unmanageable strands and bring out the curly beauty hidden inside. After scooping all the contents from the prepping utensil, you may transfer it to an airtight container or glass jar and use it regularly.
CHECK OUT:- 5 Common Mistakes That Girls With Thick Hair Make and How To Fix Them?
The Right Method To Use It
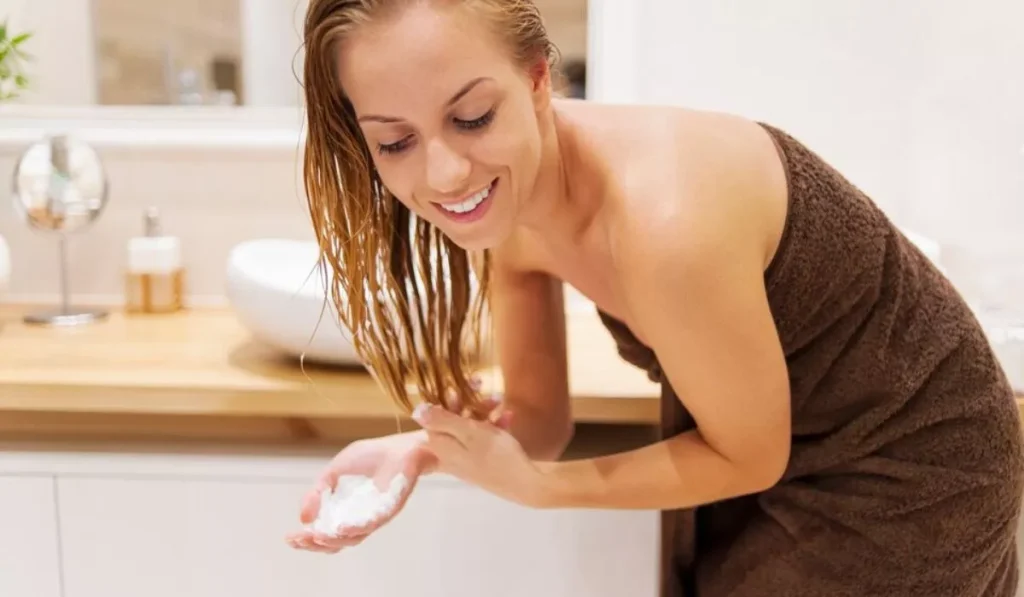
No, the job does not end here. You need to use the DIY curl-defining cream properly in order to get the maximum benefits out of it. For this, you should take the required quantity in your palms apply it gently on your scalps, and spread it evenly. After that scrunch your hair in an upward motion for a couple of minutes.
It is also important not to blow dry your hair after the application of this particular DIY curl-defining cream. The best way to flaunt those beautiful curls is by air-drying your hair. The air-dried hair will show the best and healthiest bounces, which will also make you smile from the inside.
Conclusion
Now, you have come to know about one of the most easiest and inexpensive ways ever to make your curls look the liveliest and the happiest. However, it is important to make the cream only in small batches and not in bulk quantities. Since it is a DIY cream with no added preservatives, you should have an idea about the shelf life of the cream.
Spoilt creams are not meant for your curls, since they may easily worsen your frizz issues and cause unwanted troubles with your hair. Along with this curl-defining cream, it is also important to choose the rest of your hair care products, understanding the nature and issues of your hair.

