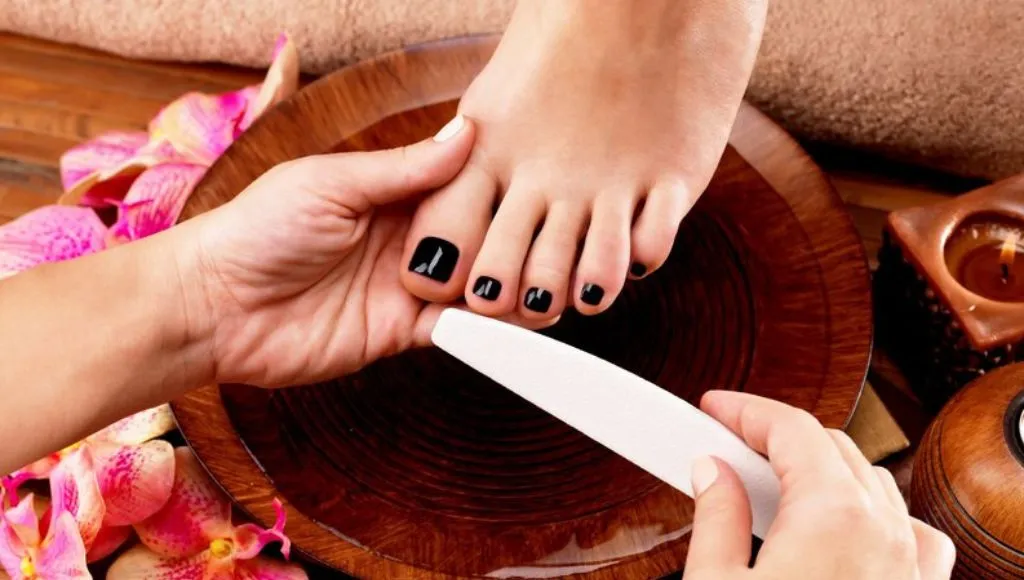
Everyone knows that a pedicure makes your toes look a bit more nice than usual. A nice pedicure is always the way for you to make your toenails hygienic and look good. This is like therapy for your foot to rejuvenate it from all the damage done to it. People are more and more turning to their health hygiene after the pandemic.
Expensive salons and their time-consuming schedules can’t always be the best choice for everyone, so keep reading to learn about all the details to get your pedicure done at home.
Essentials You Need For A Home Pedicure
There are always some DIYs that you can choose to get your way out of everything. Choosing to do your pedicure at home will save you precious time as well as your money. So here are the essentials for your home pedicure and ways to use them effectively.
1. Use Rubbing Alcohol
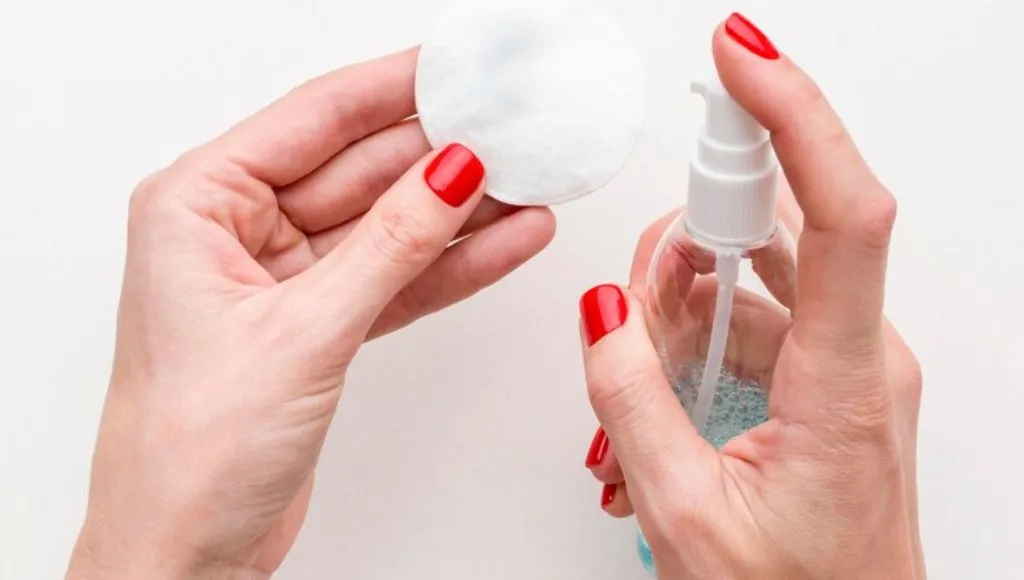
Wash your feet with water and soap to clean out all the dirt stored in your nails and crevices. If you have any type of nail polish on your nails, it is essential to remove them properly, as it can react with creams and cause infections. Use nail polish removers or rubbing alcohol to clean out all the polish on your nails effectively.

2. Drying Towel
Soak your toes along with your feet in warm water and soap solution for at least half an hour. Use a drying towel to dry out all the soap to remove all the lather on your feet. Cleaning the soap properly is necessary as it can give you a burning sensation on any cuts.
3. Essential Oils
When doing your own pedicure, remember you are not a professional and can cause damage to your skin yourself. Use essential oils like olive oil, castor oil, or, at the very least use coconut oil. These essential oils are going to nourish your skin and moisturize it to prevent any infection.
4. Scrub
When you have nourished your feet and toenails, it’s time to get to scrubbing. Use a high-quality or herbal scrub to exfoliate your toes and heels and get all that dead skin out. Scrub for a good ten minutes and wash it completely and properly afterward. Remember to check your scrub for a skin test before using it to reduce the chance of any inflammation on your skin.
CHECK OUT:- Stronger Nails in 6 Easy Steps: The Best Nail Strengtheners For Brittle Nails
5. Razors And Clippers
Now comes the trimming part of your home pedicure. Take a razor with a new blade in it, sanitize it properly in hot water, and start trimming your cuticles and dead skin around it. Remember to use the razor carefully to avoid cuts and bleeding. Use a nail clipper to trim your nails properly and check for pointy ends.
6. Alum
Alum is a great anti-bacterial stone. Use a smoothened alum stone to rub all the areas where you used the razor. Alum is going to clear out all the bacteria from those areas and make the bleeding stop from your minor cuts. Alum is harsh on your skin, and it burns a little, so be prepared to feel stingy.
7. Hydrating Creams
After cutting, trimming, and putting alum on your nails and feet, the skin in that area is going to get dry. You need to moisturize your skin with hydrating creams, which also have some essential oils and other elements that promote better skin health. Choose a cream that suits you better.
CHECK OUT:- Tips To Make Your Nails Grow Faster: Get Long, Gorgeous Nails In No Time
8. Milk And Honey
When it comes to relying on natural items for skin health and hydration, milk, and honey are some of the best skin moisturizers. Milk makes your skin hydrated, and honey maintains that hydration throughout the day. Make a mixture of honey and milk and apply it to your skin and toenails; it will be enough to make them moisturized.
Wrap Up
Getting a pedicure appointment at a salon and giving a full day of your life to let others clip out your nails and clean them is a waste of time. When you can get the same hygiene and look at your home, why go anywhere else and waste your money?
All the essential items mentioned above are easy to find in the market and gentle on your skin, so follow the guidelines to use them as mentioned above and enjoy your hygiene.

