
Having clean, bright-looking feet is important for many people. Dark, discolored toenails can be embarrassing and make people self-conscious about showing their feet, whether it be at the beach, pool or even just wearing sandals.
Luckily, there are a variety of toe whitening techniques available to help give your feet a refreshed, vibrant look. This article will explore what toe whitening is, the step-by-step process, popular techniques, benefits, precautions, and tips for whitening toenails and achieving a bright, clean pedicure.
What Is Toe Whitening? How It Is Used?
Toe whitening refers to the process of lightening the color of toenails and removing yellow, stained discoloration. Whitening makes nails look clean and healthy again.
Many things can cause toenails to become stained or discolored over time including:
? Wearing dark-colored nail polish regularly
? Fungal infections
? Injuries/trauma to the nail
? Excessive smoking
? Aging
? Genetics
The most common toe whitening methods utilize hydrogen peroxide, carbamide peroxide, or lemon juice to naturally bleach the nails. Specialized whitening creams or patches may also be used to gradually lift stains as the product sits on nails.
Toe whitening is typically done at home as a DIY pedicure, at spas/salons, or by podiatrists for more severe cases.
Step By Step Process Of Toe Whitening – How To Apply It?
The process for whitening toenails involves removing polish, cleaning/prepping nails, applying a whitener product, letting it soak in, and rinsing. Here is how to safely whiten toenails:
? Remove old nail polish if toenails are currently painted. Use nail polish remover or acetone to completely strip the color.
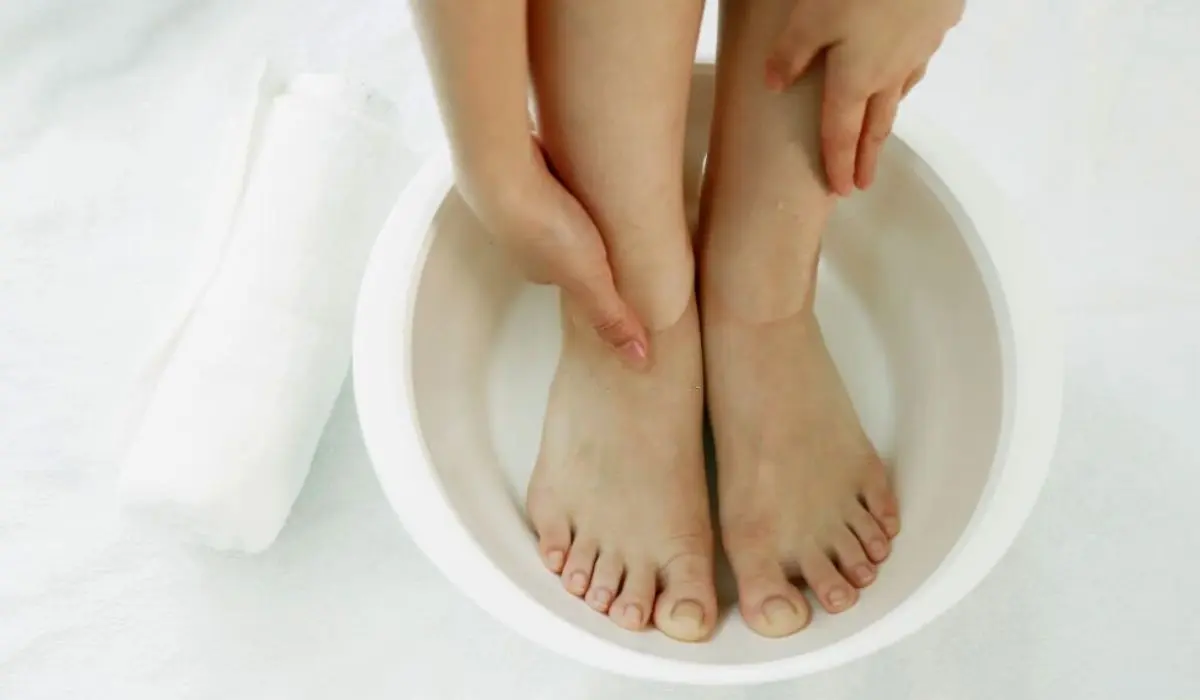
? Wash feet and scrub toes/nails thoroughly with soap and water to remove debris, dirt, and oil buildup.
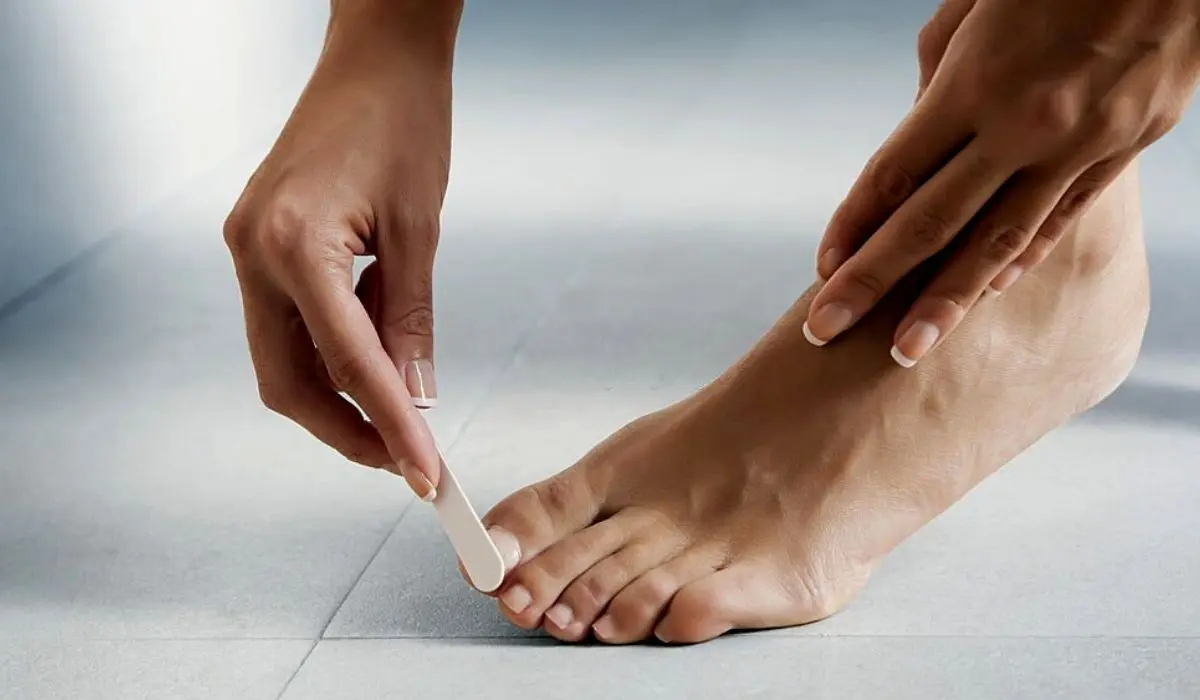
? Gently file away the top surface of the nails with a nail buffer or pumice stone to smooth any ragged edges.
? Trim and shape nails if necessary. Make sure toenails are trimmed evenly.
? Apply a small amount of cuticle oil around the nails to prep and prime them for whitening.
? Select a whitening product such as hydrogen peroxide, lemon juice, commercial whiteners, or coconut oil. Dip a cotton ball and apply it to the nails.
? Let the whitening solution soak into the nails for 5-10 minutes. Keep reapplying more solution as it dries.
? Once finished, rinse all products thoroughly with water. Dry feet completely.
? Apply hydrating foot cream to entire feet and nails. For extra protection, use a UV topcoat on nails.
Various Techniques For Toe Whitening
There are many effective options for DIY toenail whitening. The most popular techniques include:
? Hydrogen Peroxide – An affordable go-to whitener, hydrogen peroxide can be purchased at any pharmacy. Soak a paper towel or cotton in peroxide and wrap nails for 5-10 minutes a day until stains lift. Rinse after each treatment.
? Lemon Juice – Natural acidic lemon juice works to create a bleaching effect. Simply rub lemon wedge over nails, let sit for 5 minutes and rinse. Repeat daily. Avoid applying lemon juice after a pedicure due to sensitivity.
? Baking Soda and Lemon – Mix baking soda with fresh lemon juice to form a paste. Gently scrub onto toenails and let sit for 5 minutes before rinsing. The grains also work as an exfoliant.
? Whitening Toothpaste – Look for toothpaste containing baking soda for whitening power. Gently buff onto stained nails using a toothbrush 1-2 times per week. Rinse thoroughly after.
? Coconut Oil – Extra virgin coconut oil can naturally whiten nails with consistent use. Apply to toes nightly before bed, covering with socks. Wash off in the morning.
? Professional Salon Products – Visit a nail salon and ask for professional whitening treatments like Whitener Wash or Clarity Whitening Soak for more dramatic results.
Benefits Of Toe Whitening
Regularly whitening and removing stains from toenails provides both aesthetic and health benefits. Advantages include:
? Appearance – Whitened nails simply look cleaner and more appealing. Removing yellow discoloration gives a brighter, fresher pedicure perfect for sandal season.
? Confidence – Preventing embarrassment from dark toenails can mean feeling more confident and comfortable showing bare feet. No more hiding feet!
? Health Indicator – Stained or darkening nails may signal an underlying health issue like fungus. Whitening keeps an eye on nail health.
? Strengthen Nails – Some whiteners contain moisturizing oils to improve nail strength and hardness. This protects against future stains.
? Affordable – Compared to professional whitening, at-home DIY kits are a budget-friendly way to gradually brighten nails over time.
? Convenience – Easy 5-10 minute daily home treatments allow for whitening toenails on your own schedule.
It’s important to consult a podiatrist if you experience consistent nail discoloration or damage. But for gradual, superficial staining, routine whitening offers a simple solution for improving the look of feet and nails.
Related:- Baking Soda For Dandruff – How To Prevent Hair Dandruff?
Tips & Precautions For Toe Whitening
While whitening is generally safe for nails when done carefully, take these precautions:
? Spot test any new products on a small part of the nail first to check for sensitivities.
? Avoid getting whitening solutions on the skin or cuticles to prevent irritation.
? Read all directions carefully and never exceed recommended usage times.
? Whiten nails every other day, allowing rest periods for nails to rehydrate.
? Apply a high-quality foot cream after to nourish nails and skin.
? Discontinue use if excessive burning, redness, or peeling occurs.
? See a doctor for dark nail staining along with thickening or brittleness.
? Consult your doctor before using harsh whiteners if diabetic or pregnant.
? Avoid lengthy UV radiation exposure after whitening as nails will be sensitive.
? Use gloves when cleaning, cooking, or gardening to prevent future stains.
Conclusion
Dull, yellowed toenails can be safely and effectively whitened using many over-the-counter products and natural home remedies. With some simple preparation like cleaning and filing nails, then applying a product for 5-10 minutes daily, you can gradually remove stains for beautiful feet.
Be patient, consistent, and careful with at-home whitening techniques. And remember to moisturize and protect your nails after each session. In no time, you’ll go from hiding discolored cracked nails to showing off a clean, healthy pedicure you can be proud of.
Read More:- 6 Best Nail Art Designs To Try At Home – A Sneek Peak!
FAQS
Q: Does toenail whitening permanently remove stains?
A: No, toenail whitening is not permanent. Consistent, ongoing maintenance is required as nails grow out. Touch-up whitening treatments will need to be performed regularly.
Q: Can I use nail polish after whitening nails?
A: Yes, you can apply regular nail polish after completing a whitening treatment. It’s best to give nails a few days rest first before applying darker polish.
Q: Is whitening bad for toenails?
A: When done properly, whitening is generally safe for nails. However, overuse can lead to dryness or brittleness. Moderate whitening combined with nail moisturizers is best.
Q: How long does toenail whitening last?
A: Results vary based on the chosen method and cause of staining. On average, whitening results last 2-4 weeks as nails grow out before touch-ups are required.
Q: Can toenail whitening remove fungal infections or severe staining?
A: Unfortunately no, at-home DIY whitening is only effective for mild, surface-level discoloration. See a podiatrist for fungal infections or lasting dark stains.