
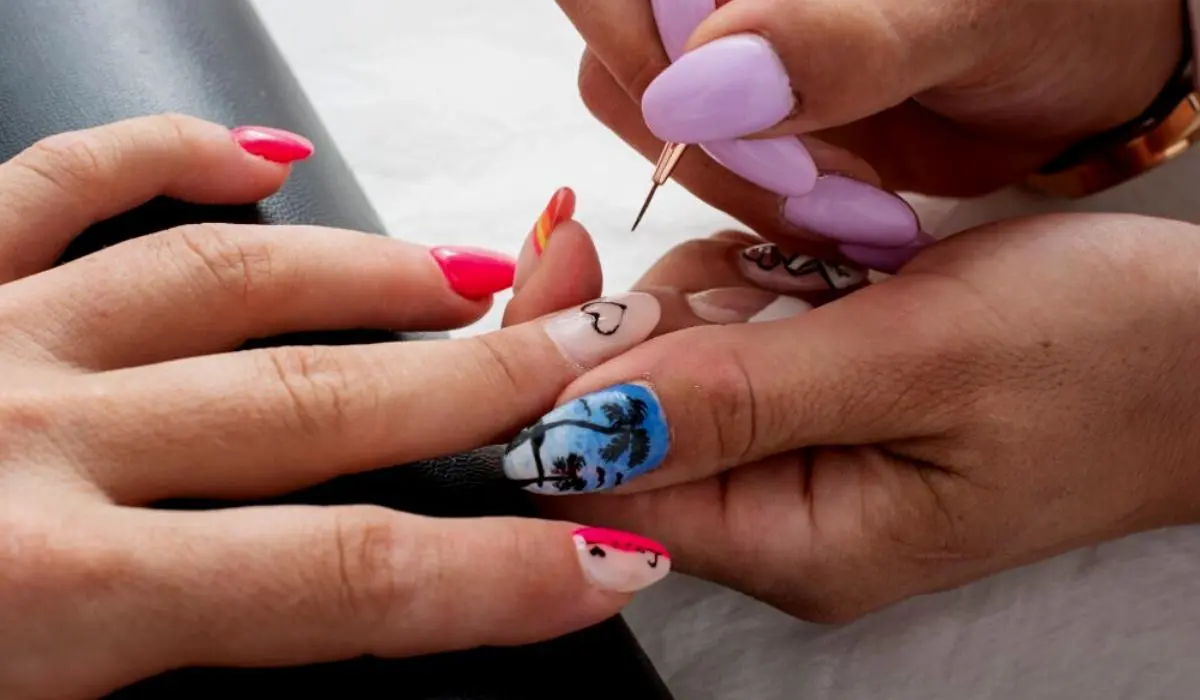
Nail art is a creative way to decorate your nails with colors, designs, stones, glitter, and a variety of other embellishments. It allows you to express your style and personality through your fingertips. With some simple techniques and tools, you can create stunning nail art designs right at home.
What Is Nail Art Design? How Can You Design A Nail?
Nail art involves applying artistic designs over your fingernails or toenails using nail paints, sequins, beads, foil, stickers, glitter, stamps, and more. There are various techniques like ombre, marble, stippling, stamping, etc. that can be used to make patterns, drawings, or textures on the nails.
To design your nails, you need a base coat, nail polishes in different colors, a top coat, dotting tools, striping tape, glitter, rhinestones, etc. Nail art pens and stamping kits help to make finer designs. Watch video tutorials to learn the techniques before attempting them at home. Take your time and be creative with colors and textures to make beautiful nail art.
6 Best Nail Art Designs To Try At Home
Here are 6 easy nail art ideas and designs you can try doing yourself at home:
1. Ombre Nails
Ombre or color gradient nails have a seamless fade between two or more shades. Apply a light color on the tip of the nail and blend it into a darker shade at the cuticle using a makeup sponge. Add a top coat for a glossy finish.
2. Polka Dots
Make different-sized dots across the contrasting base and dot colors using a toothpick. You can also use dotting tools for uniform dots. Seal the design with a top coat.
3. Striping Tape
Use striping tape to create geometric patterns like stripes, chevrons, or zigzags. Stick tape over the base color, apply contrasting shades, and peel off the tape carefully to reveal the design.
4. Marble Nails
Marble designs involve swirling and blending nail polish shades to mimic stone patterns. Drag a toothpick through wet polishes to create a marbled look.
5. Florals
Draw floral designs like roses, daisies, or cherry blossoms using a thin nail art brush and multiple colors. Add leaves, stems, and glitter accents to complete the nature-inspired look.
6. Stamped Nails
Get creative stamps and plate designs to transfer intricate patterns onto your nails simply by stamping. Try geometric, floral, sequin, or lace-stamped designs.
Benefits Of Nail Art
Here are some benefits of nail art:
✔ Allows you to express your creativity through your nails
✔ Wide variety of unique and fun designs to try
✔ Lets you customize your nails for any occasion like parties, holidays, etc.
✔ Relieves stress and brings mental relaxation similar to painting or coloring
✔ Makes your hands look stylish and trendy
✔ Affordable and easy way to get salon-like nails at home
✔ Wide range of nail art tools and supplies easily available
✔ Simple techniques that can be done by beginners
✔ Helps strengthen nails if done properly
Related:- Dry Brushing – Benefits, Risks & Precautions!
Tips And Precautions While Applying Nail Art Designs
✔ Prep nails by cleaning and applying base coat first
✔ Work on a clean, tidy surface and have all tools arranged beforehand
✔ Opt for non-toxic and good-quality nail polishes and decor items
✔ Be patient and let each coat dry thoroughly before moving to the next step
✔ Apply top coat to seal and set design, prevent chipping/cracking
✔ Avoid flooding cuticles; clean up any spills immediately
✔ Start with basic stripes, dots, or color blocking if new to nail art
✔ Watch video tutorials and practice techniques first before intricate designs
✔ Remove polish and give nails a break if skin feels irritated
✔ Seek the help of a professional if you have very short, brittle, or damaged nails
Conclusion
Nail art is a fun and artistic way to stylize your nails right at home. With some easy designs, good-quality supplies, and basic techniques, you can give yourself gorgeous, salon-worthy nails. Not only does it help unleash your creativity, nail art is also therapeutic.
With the wide array of designs today, you can customize your nails for any occasion, mood, or outfit. Just invest some time practicing the basics and remember to care for your nails; you’ll soon be flaunting stylish nails anytime you want.
Read More:- Gel Nail Polish Remover -Tips And Tricks Explored!
FAQs
Q1. What are the popular nail art techniques?
Some popular nail art techniques include ombre, marble, stamping, stenciling, striping tape, bubble nails, 3D designs, chrome, floral, geometric patterns, etc.
Q2. What tools do I need for nail art at home?
Basic tools for nail art at home include dotting tools, striping tape, angled brushes, makeup sponges, toothpicks, top coats, base coats, nail polishes in various colors, glitter, sequins, stamps, rhinestones, etc.
Q3. How do I make ombre nails?
Apply base color on nails, then use a makeup sponge to blend a lighter shade on the nail tip into a darker polish near the cuticle in a gradient style. Finish with a top coat.
Q4. How long does nail art last?
With a top coat, most simple nail art designs can last 4-7 days without chipping depending on the quality of polishes used. Elaborate designs may start showing wear and tear earlier.
Q5. Is nail art safe for kids?
Nail art is usually safe for older kids if using non-toxic polishes. Avoid very elaborate designs for young kids. Seek a doctor’s advice before use if a kid has any skin sensitivities or allergies. Supervise use.