Many people who want to improve their appearance want to have skin that is both perfect and luminous. Applying compact powder to the face in the right way is a crucial part of achieving a professional makeup look.
Compact powder, also known as pressed powder, is great for setting makeup such as foundation and concealer, reducing the appearance of pores, and keeping your skin feeling silky smooth all day long.
It’s not easy to get a flawless application of the compact. But have no fear! This tutorial will walk you through the process of applying compact powder to your face, from beginning to end, with an emphasis on the crucial equipment, tips, and techniques that will guarantee a professional-looking result every time.
Materials Needed For Applying Compact

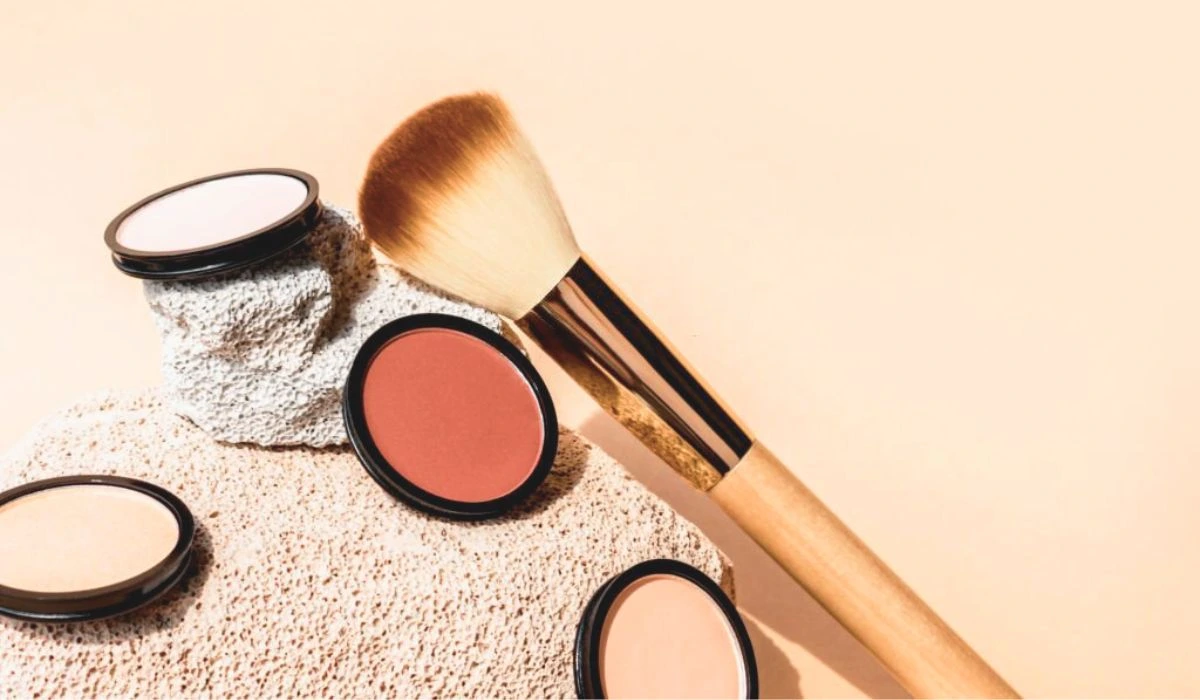
- First off, get a high-quality makeup brush. Pick one specifically designed for powder or compact application. Its bristles should be densely packed, but gentle on your skin.
- Next, find a reliable compact powder that perfectly matches your skin tone. This will give you a natural look without any contrast. Choose the right shade to avoid looking too made-up or washed-out.
- Also, use a primer. This creates a perfect canvas by filling in pores and lines and helps extend the longevity of your compact.
- For extra precision, get a translucent setting powder. This locks in your makeup controls shine, and provides a matte finish. Dust it over oily areas like the T-zone or forehead.
Pro Tip: Pat, don’t rub, the powder onto your skin. This prevents smudging and gives you maximum coverage without looking unnatural.
? Preparing Your Face
For a flawless finish, prepping your mug before compacting is essential! Here’s a 5-step guide to the perfect canvas:
- Cleanse: Rid of dirt and impurities with a gentle facial cleanser. This will get rid of oil and makeup residue.
- Exfoliate: Use a scrub to get rid of dead skin cells and make your complexion smoother. Gently massage in circular motions. Focus on spots prone to dryness or congestion.
- Moisturize: Hydrate your skin with a lightweight, non-greasy moisturizer. This will give a smooth base for your compact and prevent it from settling into lines or patches.
- Prime: Apply a primer to create a barrier between your skin and the compact. Pick one that suits your skin type – mattifying for oily skin or illuminating for a glowing look.
- Sunscreen: Don’t forget to apply sunscreen before compacting – look for a broad-spectrum sunscreen with SPF 30 or higher. Spread it evenly all over your face.
? Choosing The Right Compact Shade
Choosing the right compact shade for a flawless makeup look is essential. Here’s a guide to help you find the perfect one for you:
– Assess your undertones. Are they warm, cool, or neutral? That’ll help narrow down the options that’ll complement your complexion.
– Test it on your jawline. This provides a more accurate representation of how the shade will blend with your face.
– Match it to your skin tone. Avoid shades too light or dark, as these can create an unnatural appearance.
– Consider the coverage level. Different compacts offer varying levels of coverage from sheer to full. Decide what amount you want and select accordingly.
? Applying Primer Or Moisturizer
Achieving the perfect compact application on your face? It’s easy! All you need to do is properly apply primer or moisturizer. This step not only helps create a smooth makeup base but also guarantees long-lasting wear.
We have a 4-step guide to help:
- Cleanse: Start by washing your face with a mild cleanser. Afterward, pat dry with a clean towel.
- Moisturize: Choose a lightweight moisturizer based on your skin type. Massage it in with circular motions, focusing on drier areas.
- Primer: Put some primer on key areas of your face – forehead, cheeks, nose, and chin. Blend it with your fingertips or brush with circular movements.
- Wait: Let the primer or moisturizer fully absorb into your skin before continuing with your makeup.
Remember, not all primers and moisturizers work well together. Think about your skin type and concerns when choosing products to get the best results. For example, if you have oily skin, go for oil-free or mattifying primers to control shine.
? Applying Foundation
- Begin with a cleansed and moisturized face. Cleanse gently and apply a hydrating moisturizer. This will create a smooth base for the foundation.
- Choose the right shade of foundation for your skin tone. Test it on your jawline. If it disappears, you’ve found the perfect match!
- Apply small dots of foundation to your forehead, cheeks, nose, and chin. Use a damp sponge or brush to blend the product using upward strokes.
- Focus on areas that need extra coverage, such as blemishes or dark circles. Dab concealer on these areas before applying foundation.
- Set the foundation with translucent powder. This prevents shine and longevity.
- Blend and take your time for a natural finish. Consider a primer before applying foundation for improved longevity and smoother application.
The foundation is essential as it evens out skin tone and creates a base for other makeup products. With the right tools and technique, you can achieve a flawless complexion that lasts all day.
Also Read: 5 Best Foundation For Combination Skin: Understanding The Facts And Factors Of Combination Skin
? Applying The Compact On The Face

Steps:
– Clean and moisturize your skin first. This is to create a smooth surface for the compact.
– Pick the perfect shade that suits your skin tone. Test it on your jawline to ensure it’s a match.
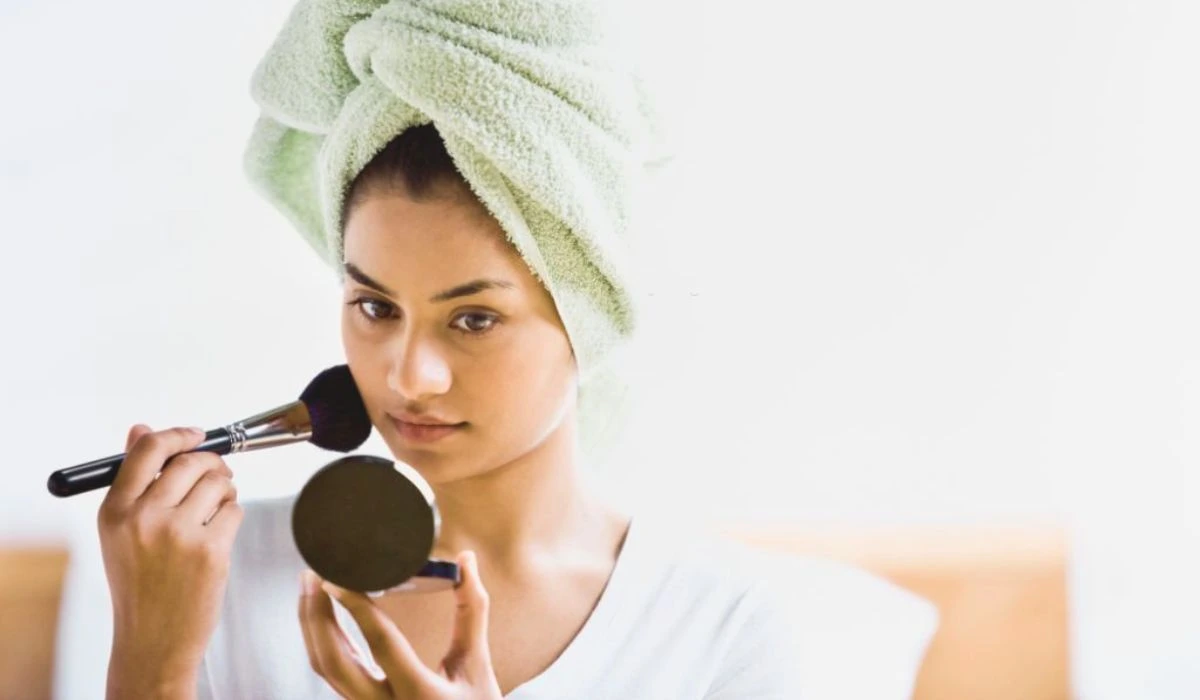
– Pat the compact on your face with a brush or sponge. Start from the center and blend outwards.
– Gently tap off any excess powder.
– Consider using a translucent powder for touch-ups during the day.
? Using A Brush
Using a brush to apply compact on your face can help you get flawless results. Here’s a step-by-step guide to perfecting this technique:
- Choose a fluffy, dome-shaped brush with soft bristles.
- Swirl the brush in the compact to pick up a small amount of product.
- Then, lightly tap the brush to remove any excess powder.
- Apply the compact in light, circular motions from the middle of your face outward.
- Concentrate on areas that need extra coverage by patting or stippling the brush over them.
- Keep blending until you reach the desired coverage.
? Using A Sponge
Steps of the compact application process using a sponge. Here’s how to do it:
- Get it wet: Before anything, soak the sponge with water. This creates a smoother finish and stops the product from being absorbed too much.
- Apply the compact: Gently tap the sponge on the foundation or powder to take enough. Begin with tapping it on places that need more coverage, such as blemishes or redness.
- Blend in circles: With light pressure, blend the product into your skin in circles. This helps spread the foundation or powder for a natural look.
- Increase coverage if needed: If you need extra coverage in certain areas, repeat step 2 and layer the product gradually until you get the look you want.
- Clean your sponge: After each use, make sure to clean the sponge with gentle soap and warm water. This takes off any product left behind.
? Blending The Compact
Achieving a flawless makeup finish requires you to master the art of blending the compact. Here are 5 steps to help you do just that:
– Pick the right brush: Get one with dense, soft bristles. This will help spread the compact evenly.
– Tap off the extra powder: Before applying it on your face, tap the brush to get rid of any excess product.
– Begin from the center: Start with the forehead, nose, cheeks, and chin. Use circular motions to blend.
– Move outward: Then blend the compact towards the outer edges. Include the hairline and jawline.
– Touch up: Use a small brush or sponge for any spots that need coverage.
Lightly blend and gradually build up coverage. Don’t rub or buff too much as it can ruin your foundation.
? Setting The Compact
- Pat a small amount of setting powder on your T-zone using a fluffy brush. Use a pressing motion for oily areas.
- Sweep the brush over other parts of your face.
- Tap off any excess product.
- Blend with light upward strokes.
- Check-in different lighting for any harsh lines or unevenness.

