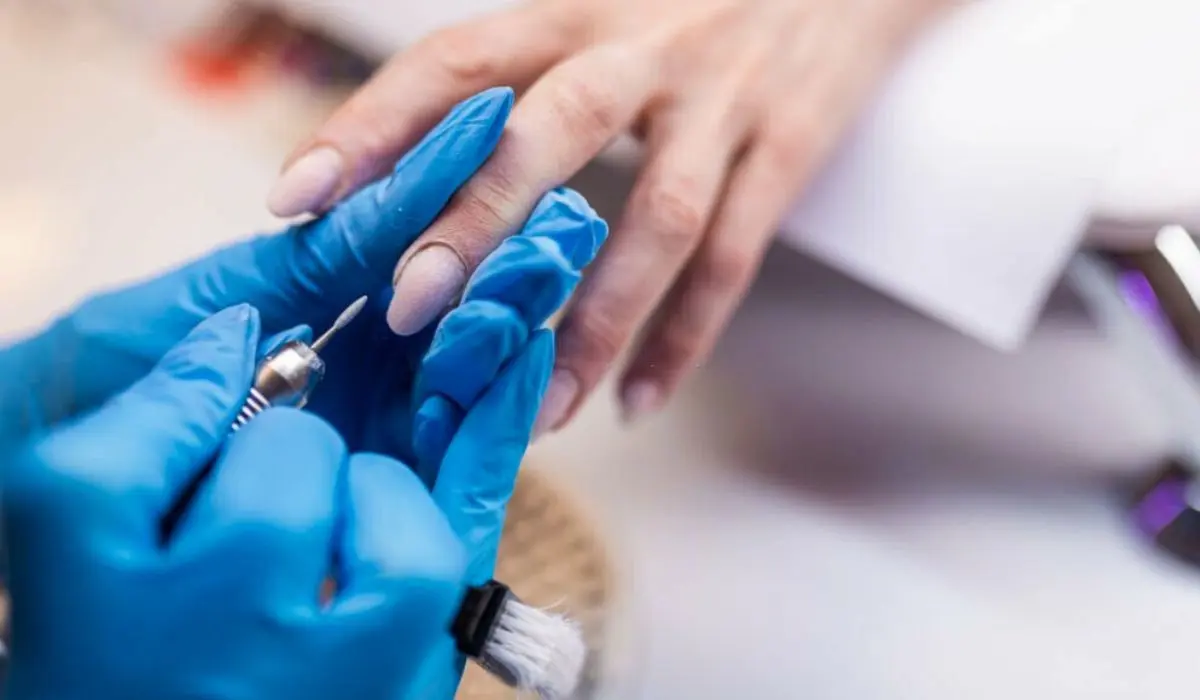
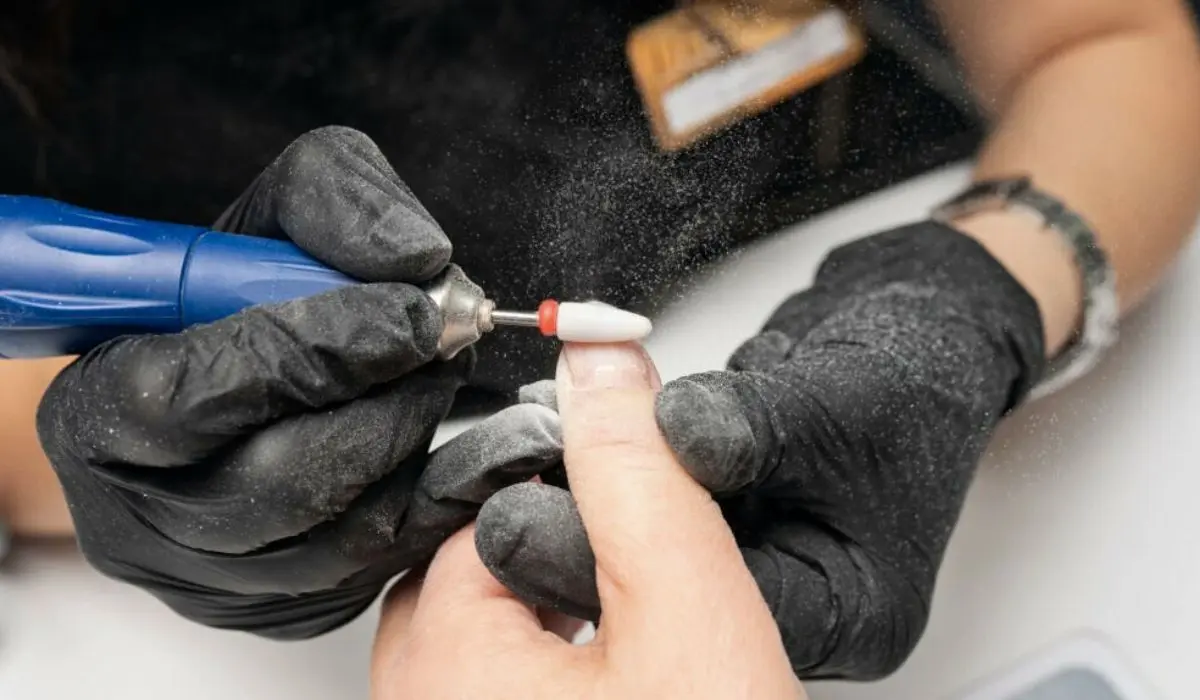
Do you feel lazy going to the salon to remove acrylic nails? Biting, ripping, or lifting off acrylic nails would be the last thing you want to do. As you know, those hacks are not only painful but also damage the surface of your nail. To make it worse, you will end up having weak nails.
In this article, we take you through some really simple tips to remove acrylic nails. The best part is that you can get it done just by remaining in the comfort of your home.
How To Remove Acrylic Nails Using Acetone?
Keep the below things handy before removing your acrylic nails with acetone.
- Nail buffer
- 100% pure acetone
- Metal cuticle pusher
- Cuticle oil
Steps
1. Clip off your excess acrylics carefully. Make sure that you cut them as close as possible to your real nails.
2. With the nail buffer, rough up the surface of the polish. Continue doing this until the shine is completely removed. Once the top layer is removed, it helps the polish soften quicker in the acetone.
3. Pour the acetone into a tray or bowl. The next step is to soak your nails in it for five minutes.
4. Using the metal cuticle pusher, slowly push the polish from your nails. Do it in such a way that you push your cuticles downward.
5. Again dip your nails for five minutes. It should be followed by a gentle push again. Keep doing it until your acrylics have completely soaked off.
6. Buff off the remaining small pieces using your nail buffer.
7. Massage cuticle oil into your nails. This is done to rehydrate them. The next step is to buff it into your nails using the soft side of a buffer. Repeat the process for one more time using another layer of cuticle oil.

How To Remove Acrylic Nails Without Acetone?
The drawback of using acetone is that it is very drying for your skin and nails. Thus, the other option is to try out the below method where acetone is not used. It does not cause much harm to your nails either.
Before starting the process, keep the below things ready.
- Nail clippers
- Cuticle stick
- Tweezers
- Acetone-free nail polish remover
- A bowl
Steps
1. Start by clipping your nails as short as possible.
2. With a cuticle stick or a pair of tweezers, gently move and lift the edges of your acrylics.
3. Pour a small portion of the acetone-free nail polish remover into a bowl. Make sure that you pour enough quantity for your nails to be fully submerged and let your fingers dip in.
4. Allow your nails to soak for 30 to 40 minutes. Continue doing that for more time if required.
5. When you feel that your nails have started to loosen, use your tweezers once again to pull the acrylics from your real nails. Though this process is more time-consuming, it won’t leave your nails and cuticles brittle and dry as in the case of acetone.
Things To Do After Acrylic Removal
Don’t forget to do the following things once you are done with your acrylic removal.
1. Cuticle Oil
Cuticle oil is an important part of nail care. Make sure that you use it before, during, and after a manicure. This is done to make your cuticles and nail beds soft and moisturized.
2. Hand Cream
When you use an acetone polish remover, your hands tend to become dry. This happens in the case of non-acetone also. Thus, it’s quite important to slather your hands in a hydrating cream or lotion once you are done with the process of removing acrylic nails.
3. SPF
Last but not least, make sure that you apply SPF after completing the acrylic nail removal process.
Related:- 8 Best Dip Powder Nail Kits That You Could Try At Home
Conclusion
Hope you found the tips on how to remove acrylic nails quite informative. Ideally, you should get your acrylic nails removed after a maximum of four weeks. However, it depends on how fast your nails grow.
Though we discussed two methods earlier, it is relatively safe to opt for the second method in which acetone is not used. Also, make sure that you follow the tips discussed above before removing acrylic nails.

